This is a tip that I picked up watching some of Brian Voong’s excellent YouTube videos, so if you haven’t already, check out his site here! He has so much great free content as well as what appear to be very high quality paid tutorials.
When developing using UIKit, you are either using storyboards, coding UI programmatically, or a combination of the both. If you are purely using storyboards, this way of working will probably be of little benefit to you. However, if you are building your UI in code, this method can save you tons of time re-launching your app in the simulator! Before getting started, make sure you are targeting iOS13 and that you import SwiftUI into the files you want to use previews with.
The first step to get this up and running is to wrap your UIView in a SwiftUI View. You can do this by creating a struct that conforms to the UIViewRepresentable protocol. There are two methods we need to implement to properly conform, the first of which is makeUIView. In this method we want to instantiate our view, either from code if creating UI programmatically, or from a storyboard. In my case, I am recreating a tutorial’s UI using code, so here’s what I have so far:
struct ViewWrapper: UIViewRepresentable {
    func makeUIView(context: UIViewRepresentableContext<ViewWrapper>) -> UIView {
    return <#ViewController#>().view
    }
However if you are using storyboards, you can get your view like so:
struct ViewWrapper: UIViewRepresentable {
    func makeUIView(context: UIViewRepresentableContext<ViewWrapper>) -> UIView {
    return UIStoryboard(name: "<#StoryBoardName#>", bundle: Bundle.main).instantiateViewController(identifier: "<#ViewControllerID#>").view
    }
Note that I changed the return type in this function to UIView from what Xcode autocomplete inserted. Then I simply returned my view controller’s view. Next we need to add another method called updateUIView, however, we don’t actually need this method to do anything in this case:
    func updateUIView(_ uiView: ViewWrapper.UIViewType, context: UIViewRepresentableContext<ViewWrapper>) {
    }
}
Now that we have our UIView wrapped in a SwiftUI View, we can use it to provide a preview using the PreviewProvider protocol. We simply make a struct that conforms to this protocol, and in it implement a static var called previews. We give this var a type of some View (read up on what this type means here). Then we simply return our wrapped view.
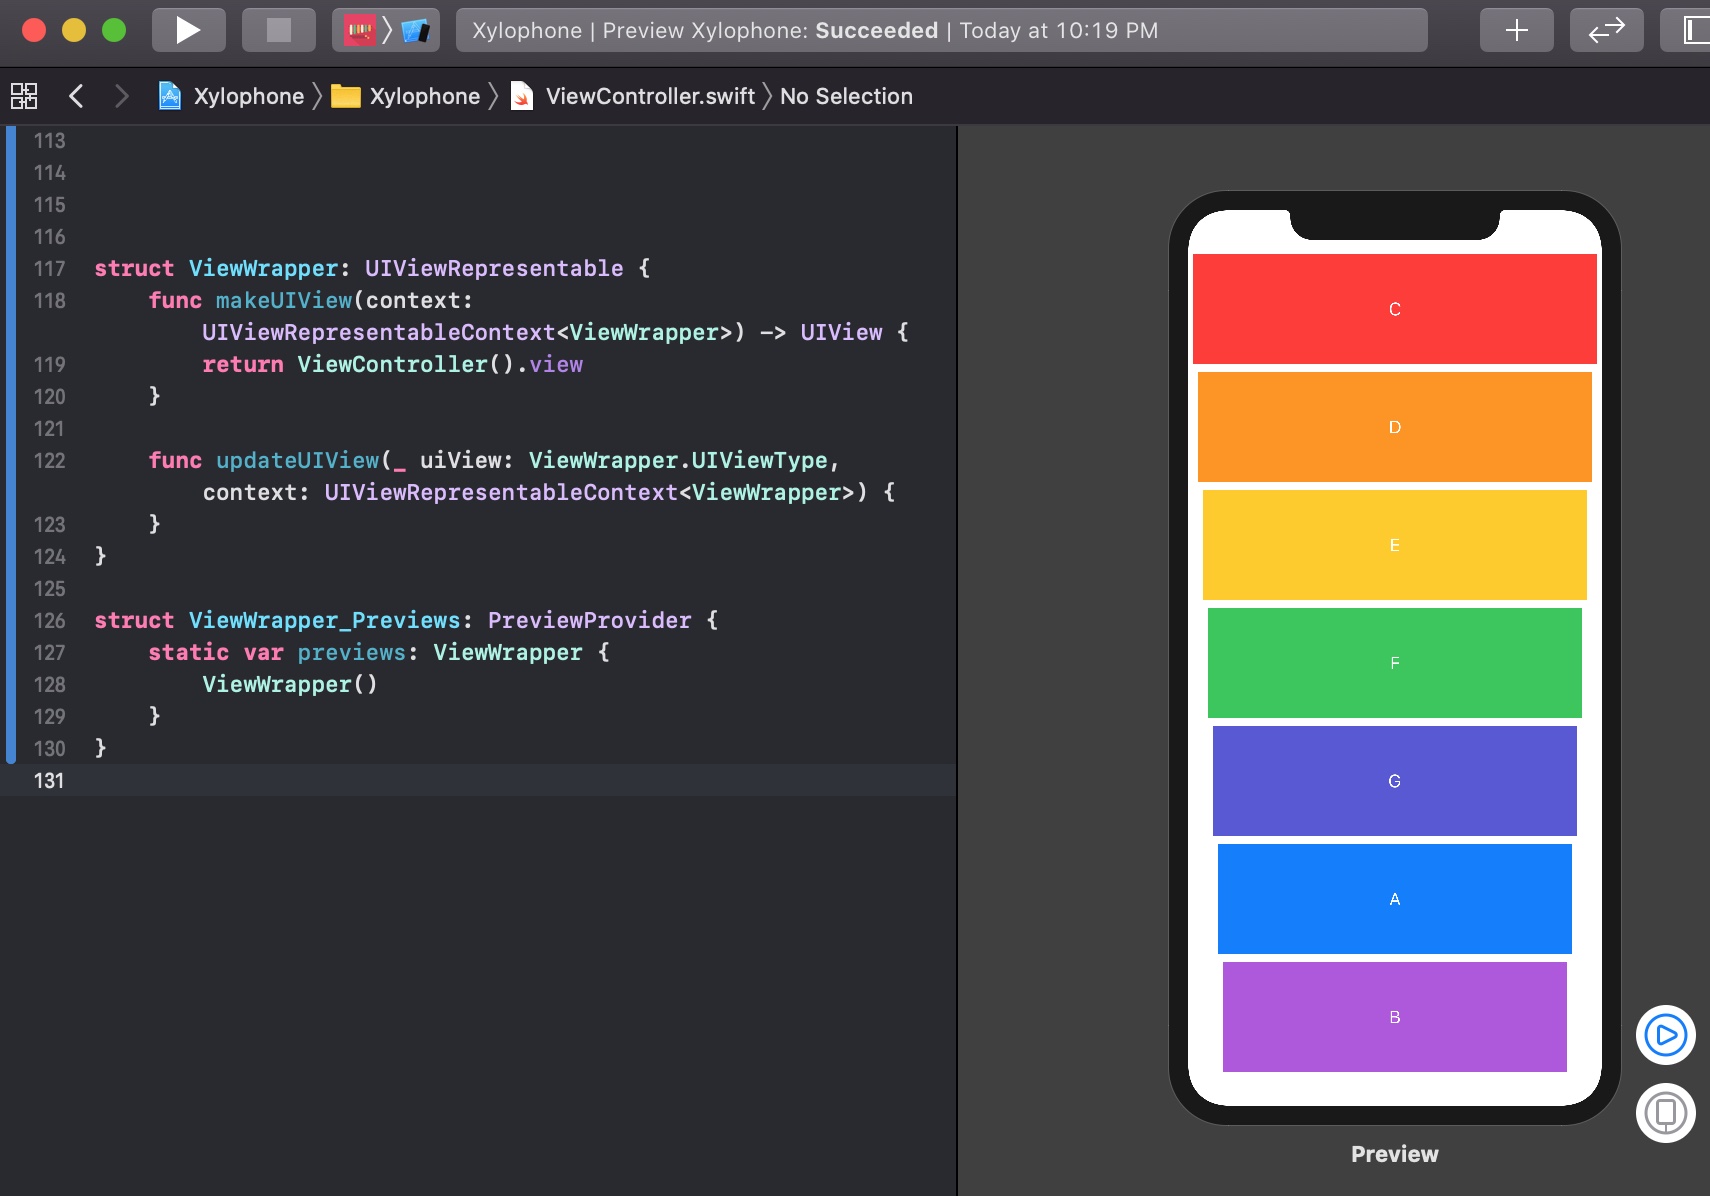
struct ViewWrapper_Previews: PreviewProvider {
    static var previews: some View {
        ViewWrapper()
    }
}
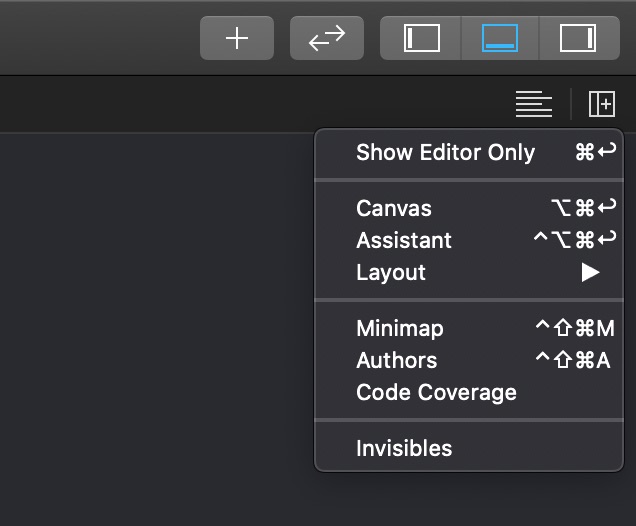
To enable the preview, simply click on the editor options in the upper right hand corner, and select the canvas.
If all went well, after clicking resume, you should be able so see a preview of your app!